写在前面
这篇通过简单的计数器案例,记录下 react-redux 全局状态的创建,和同步、异步更新状态的几种不同的实现方式。项目中v1、v2、v3三个子组件本共用一套 state 和 actions
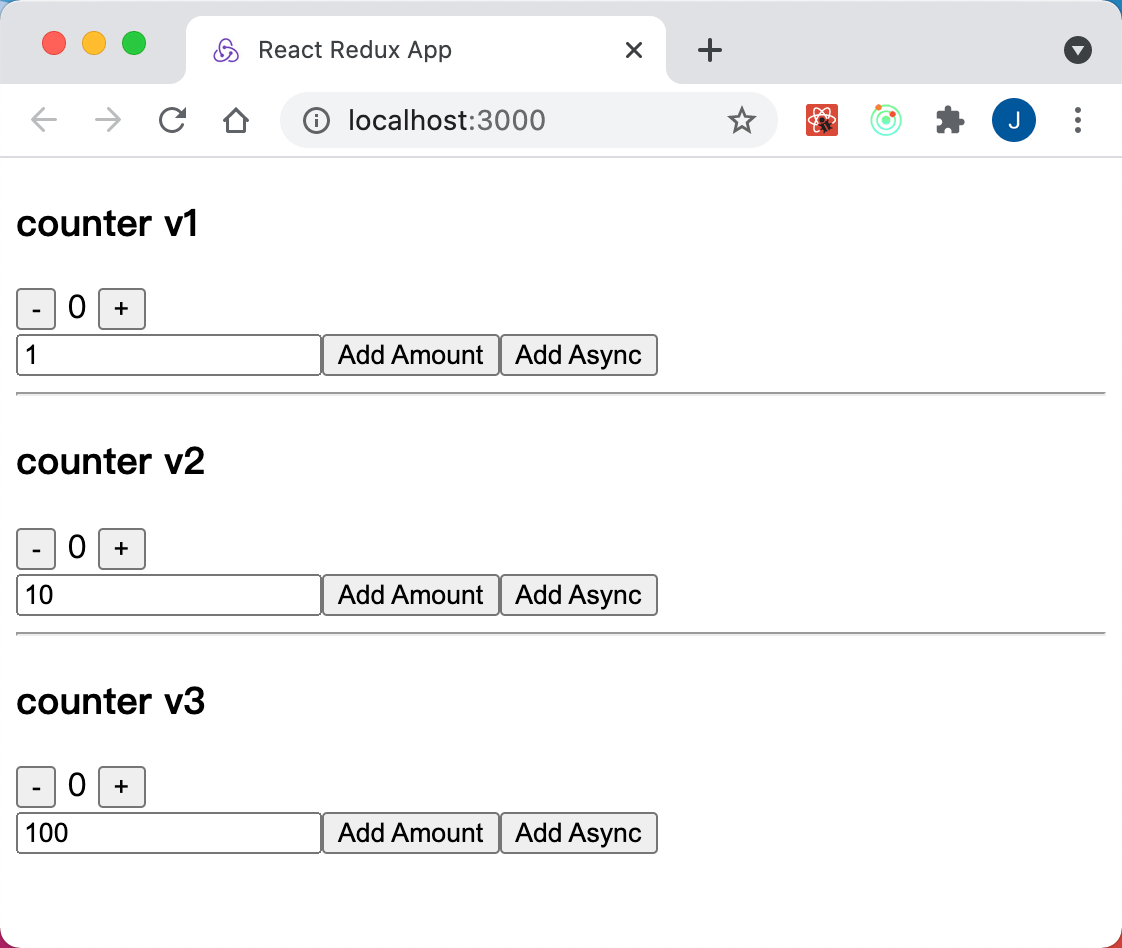
最后视图大概是这样的
项目地址:https://github.com/JohnnyLuv/react-redux-easy-demo
参考文档
- 🌈 redux api:https://cn.redux.js.org
- 🌈 react-redux api:https://react-redux.js.org
- 🌈 redux-toolkit api:https://redux-toolkit.js.org
时间2021年7月,官方这么说的
我们现在建议默认使用
React-Redux hooks API。但是,connect API仍然可以正常工作。 不再推荐旧的方法,比如将Redux逻辑按类型划分到文件夹中。 —— Redux
初始化项目
使用npm创建
$ npx create-react-app my-app
$ cd my-app
$ npm i react-redux @reduxjs/toolkit
$ npm run start
或者yarn
$ yarn create react-app my-app
$ cd my-app
$ yarn add react-redux @reduxjs/toolkit
$ yarn start
package.json依赖项和版本参考如下
"dependencies": {
  "@reduxjs/toolkit": "^1.6.1",
  "@testing-library/jest-dom": "^5.14.1",
  "@testing-library/react": "^12.0.0",
  "@testing-library/user-event": "^13.2.0",
  "react": "^17.0.2",
  "react-dom": "^17.0.2",
  "react-redux": "^7.2.4",
  "react-scripts": "4.0.3"
},
删掉一些我们不需要的文件,并创建 redux 的仓库(store)、切片(slice)以及视图组件(components)
得到项目结构参考如下
project
├── node_modules
├── public
├── src
│   ├── app
│   │   └── store.js
│   ├── features
│   │   └── counter
│   │       ├── counterSlice.js
│   │       ├── CounterV1.js
│   │       ├── CounterV2.js
│   │       └── CounterV3.js
│   ├── App.js
│   └── index.js
├── package.json
└── README.md
开始构建
切片(slice)
不管以什么维度来组织状态切片,对可维护性都是有益的
// project/src/features/counter/counterSlice.js

import { createSlice } from '@reduxjs/toolkit'

export const counterSlice = createSlice({
  name: 'counter', // 启用命名空间
  initialState: {
    value: 0,
  },
  reducers: {
    // Redux Toolkit 允许我们在 reducer 中编写 "mutating" 逻辑
    // 它实际上并不改变状态,因为它使用 Immer 库
    // 它检测到 "draft state" 的变化,并基于这些变化产生一个全新的不可变状态
    decrement: state => {
      state.value -= 1
    },
    increment: state => {
      state.value += 1
    },
    incrementByAmount: (state, action) => {
      state.value += Number(action.payload)
    },
  },
})

export const { increment, decrement, incrementByAmount } = counterSlice.actions

// 下面的函数被称为 thunk ,它允许我们执行异步逻辑
// 它可以像常规动作一样分派: `dispatch(incrementAsync(10))`
// 这将以 `dispatch` 函数作为第一个参数调用 thunk
// 然后可以执行异步代码,并分派其他操作
export const incrementAsync = amount => dispatch => {
  setTimeout(() => {
    dispatch(incrementByAmount(amount))
  }, 1000)
}

// 下面的函数被称为选择器,它允许我们从状态中选择一个值
// 选择器也可以在使用它们的地方内联定义,而不是在 slice 文件中
// 例如: `useSelector((state) => state.counter.value)`
export const selectCount = state => state.counter.value

export default counterSlice.reducer
仓库(store)
创建 store 全局状态仓库,并关联切片
// project/src/app/store.js

import { configureStore } from '@reduxjs/toolkit'
import counterReducer from '../features/counter/counterSlice'

export default configureStore({
  reducer: {
    counter: counterReducer,
  },
})
挂载store到入口文件
到这里 redux 的 store 已经完成,接下来到组件中去使用
// project/src/index.js

import ReactDOM from 'react-dom'
import App from './App'
import { Provider } from 'react-redux'
import store from './app/store'

ReactDOM.render(
  <Provider store={store}>
    <App />
  </Provider>,
  document.getElementById('root')
)
在组件中使用
编辑根组件,子组件我们分三个版本来写,对应不同的用法
// project/src/App.js

import CounterV1 from './features/counter/CounterV1'
import CounterV2 from './features/counter/CounterV2'
import CounterV3 from './features/counter/CounterV3'

function App() {
  return (<>
    <CounterV1 />
    <hr />
    <CounterV2 />
    <hr />
    <CounterV3 />
  </>)
}

export default App
首先是 CounterV1 版本,是早期的用法,也是最臃肿的一种
通过 connect 包装子组件,使其可以注入业务切片的状态和方法
// project/src/features/counter/CounterV1.js

import { useState } from 'react'
import { connect } from 'react-redux'
import {
  decrement,
  increment,
  incrementByAmount,
  incrementAsync,
} from './counterSlice'

function Main(props) {
  const [stepNum, setStepNum] = useState(1)

  return (<>
    <h3>counter v1</h3>
    <div>
      <button children='-' onClick={props.sendDecrement} />
      <span> {props.counter.value} </span>
      <button children='+' onClick={props.sendIncrement} />
    </div>
    <div>
      <input value={stepNum} onChange={e => setStepNum(e.target.value)} type='number' placeholder='step' />
      <button children='Add Amount' onClick={() => props.sendIncrementByAmount(stepNum)} />
      <button children='Add Async' onClick={() => props.sendIncrementAsync(stepNum)} />
    </div>
  </>)
}

const mapStateToProps = state => state
function mapDispatchToProps(dispatch) {
  return {
    sendDecrement: () => dispatch(decrement()),
    sendIncrement: () => dispatch(increment()),
    sendIncrementByAmount: num => dispatch(incrementByAmount(num)),
    sendIncrementAsync: num => dispatch(incrementAsync(num))
  }
}

export default connect(mapStateToProps, mapDispatchToProps)(Main)
接着是 CounterV2 版本,
这一版我们引入了 redux-hooks 的写法,不用再靠包装子组件来获取全局状态,可读性较 CounterV2 提高不少
// project/src/features/counter/CounterV2.js

import { useState } from 'react'
import { useSelector, useDispatch } from 'react-redux'
import {
  decrement,
  increment,
  incrementByAmount,
  incrementAsync,
  selectCount,
} from './counterSlice'

export default function Counter() {
  const count = useSelector(selectCount)
    , dispatch = useDispatch()

  const [stepNum, setStepNum] = useState(10)

  return (<>
    <h3>counter v2</h3>
    <div>
      <button onClick={() => dispatch(decrement())} children='-' />
      <span> {count} </span>
      <button onClick={() => dispatch(increment())} children='+' />
    </div>
    <div>
      <input value={stepNum} onChange={e => setStepNum(e.target.value)} type='number' placeholder='step' />
      <button onClick={() => dispatch(incrementByAmount(stepNum))} children='Add Amount' />
      <button onClick={() => dispatch(incrementAsync(stepNum))} children='Add Async' />
    </div>
  </>)
}
第三版 CounterV2 继续简化代码,使用命名空间的方式,来向仓库切片提交函数和载荷
// project/src/features/counter/CounterV3.js

import { useState } from 'react'
import { useSelector, useDispatch } from 'react-redux'
import { incrementAsync } from './counterSlice'

export default function Counter() {
  const { counter } = useSelector(state => state)
    , dispatch = useDispatch()

  const [stepNum, setStepNum] = useState(100)

  return (<>
    <h3>counter v3</h3>
    <div>
      <button onClick={() => dispatch({ type: 'counter/decrement' })} children='-' />
      <span> {counter.value} </span>
      <button onClick={() => dispatch({ type: 'counter/increment' })} children='+' />
    </div>
    <div>
      <input value={stepNum} onChange={e => setStepNum(e.target.value)} type='number' placeholder='step' />
      <button onClick={() => dispatch({ type: 'counter/incrementByAmount', payload: stepNum })} children='Add Amount' />
      <button onClick={() => dispatch(incrementAsync(stepNum))} children='Add Async' />
    </div>
  </>)
}
最后
到这里项目就构建完成了,可以看下视图上状态和操作的效果
还有一个未解决的问题,就是 异步 actions 的 thunk 使用命名空间写法没有生效,暂时没有想明白原因
由于之前的老项目是用 connect API 写的,比较繁琐和臃肿。新项目完全可以用 hooks API 来写
react 生态的 hooks 是值得推荐的~
done 🍉